
Customize the Game Interface
Redesign the HUD, windows and buttons with UI Trees, theme tokens and interface actions.
Video Walkthrough
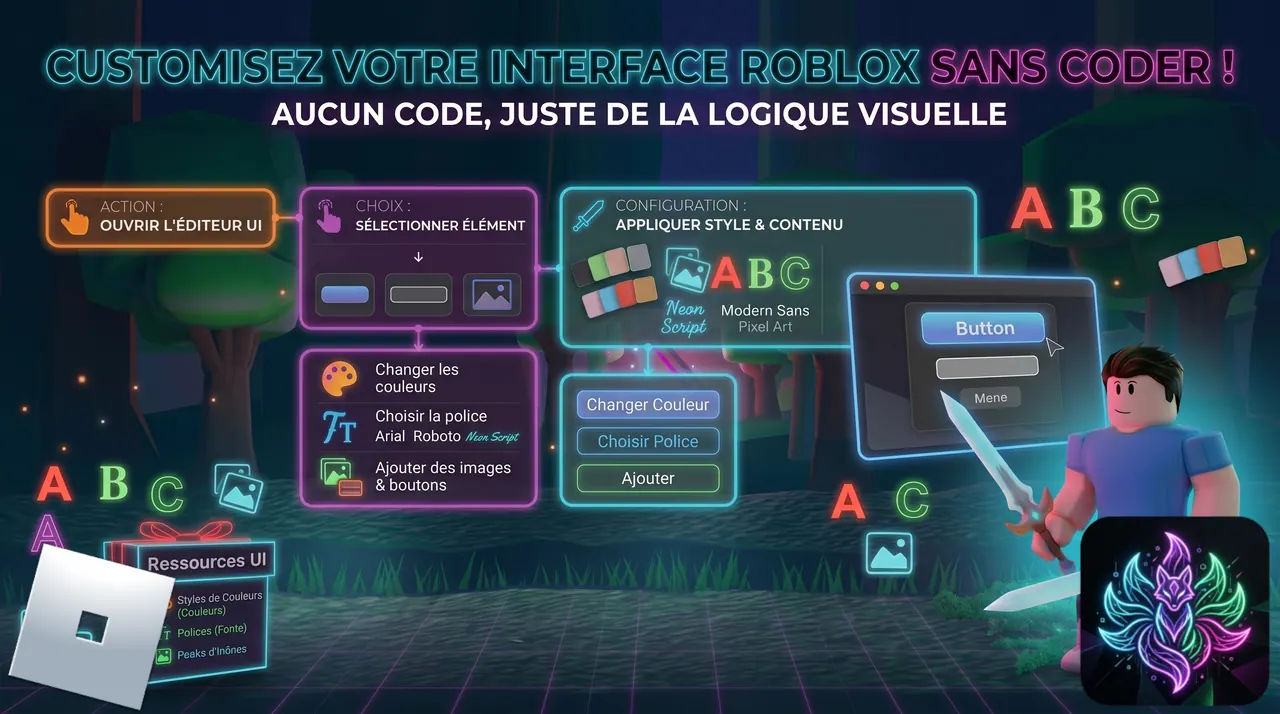
 Step-by-step Guide
Open the Design area
In the CMS, go to Design. The Theme page controls global colors, fonts and spacing. The Interfaces page contains the UI Trees used by the runtime: HUD, Inventory, Quest journal, Shop, Dialogue, Notification and more.
Customize the global theme first
Start on Theme and adjust the tokens that define your visual identity: primary color, surfaces, text colors, borders, radii and fonts. UI Trees that use linked tokens update consistently from one place.
Edit the HUD UI Tree
Open Interfaces, select the HUD tree, then use the Layout tab. The left palette adds Frames, Text, Images, Viewports and layout modifiers. Select any element to tune its size, position, colors and token links in the inspector.
Keep runtime roles intact
Every special interface has a role. HUD stays HUD, Inventory stays Inventory, Quest stays Quest, and Shop stays Shop. The engine opens role-based trees automatically; changing the role changes when that interface appears.
Add button behavior with Actions
Select a clickable element and open the Actions tab. Use OnClick to trigger OpenSession, DisplayInterface, HideInterface or SetUiProperty. Use $self when the action should modify the button that was clicked.
Test with live game data
Save, sync through the Studio plugin and press Play. The HUD opens from the Player OnSpawn graph, currencies and stats fill from player data, and your buttons open the windows you connected. Iterate in the CMS, sync, and replay.