
Monetize Your Game (Coin Packs and Legendary Armor)
Sell coin packs and a legendary Dragon Armor for Robux via Developer Products. The HUD shop menu auto-populates from your recipes.
Video Walkthrough
 Step-by-step Guide
Create Developer Products in Roblox Studio
In Studio: File → Game Settings → Monetization → Developer Products → Create. Make 'Coin Pack 100' (100 Robux) and 'Dragon Armor' (200 Robux). Copy each numeric ID — you'll need them.
Create the Dragon Armor item (category Body)
In the CMS, create item 'Dragon Armor' with category 'Body' (Armor slot). Add stat 'defense: 50'. No attack, no chain — armor is purely declarative.
Armor 3D model rules: Accessory + Handle + Attachment
Unlike a weapon (Model + PrimaryPart), armor must be a Model containing an Accessory containing a Handle (BasePart) with an Attachment named 'BodyFrontAttachment' (for chest armor). Roblox's Accessory Fitting Tool generates this structure from a mesh.
Create two Robux-only recipes (no inputs)
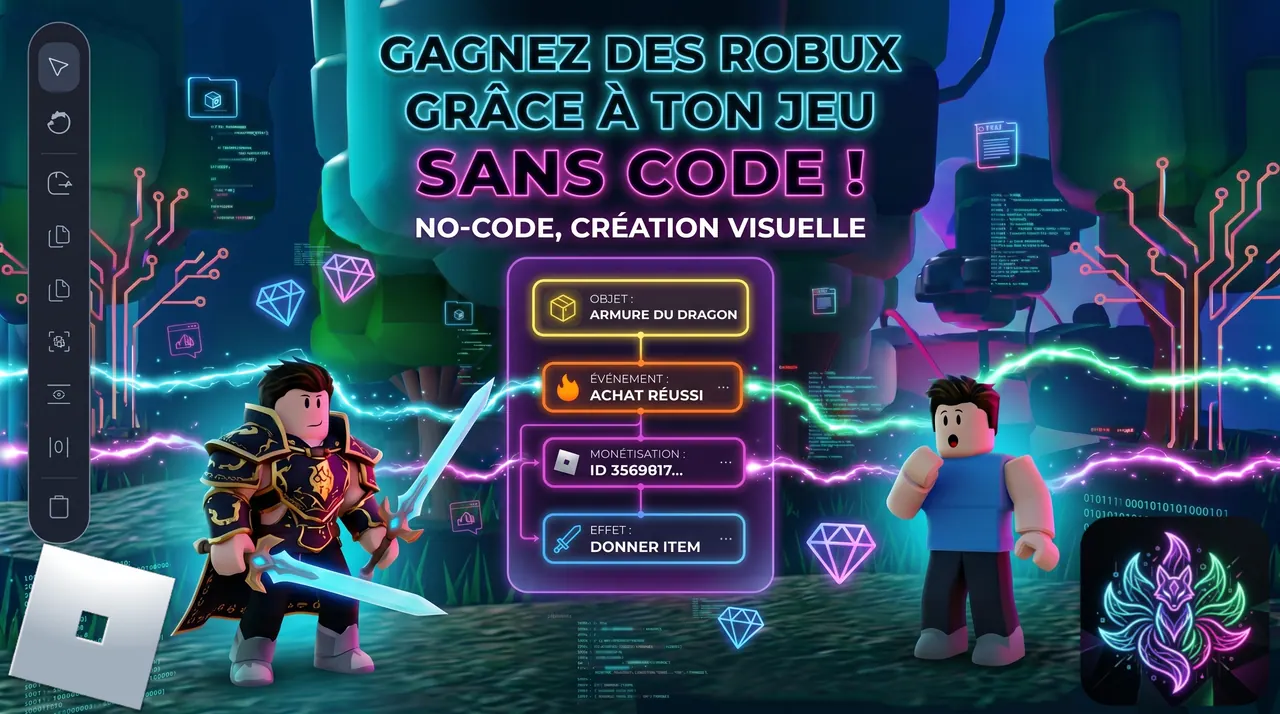
In Recipes: 'Coin Pack 100' with NO inputs, paste the Coin Pack DeveloperProductId, output gold ×100. Same pattern for 'Dragon Armor' with no inputs, the Armor ID, output Dragon Armor ×1. The schema requires either inputs OR a DeveloperProductId.
The HUD shop auto-scans your recipes
Nothing else to wire. The HUD has a Shop button next to the Inventory button. The shop scans all recipes and groups them by tab — currency tabs and a 'Robux' tab that gathers every recipe with a DeveloperProductId. Your two new recipes appear automatically.
Test in Play (Studio simulates purchases)
Link the DragonArmor model. Press Play, click the Shop HUD button, switch to Robux tab. Click a recipe — the native Roblox purchase prompt opens. In Studio the purchase is simulated (no real Robux charged). After confirming, the currency or item arrives in your inventory.