
Create a Teleportation Portal
Build a portal between zones — and discover the 3 kinds of Places: Hidden Assets, Private Plot, Public Plot.
Video Walkthrough
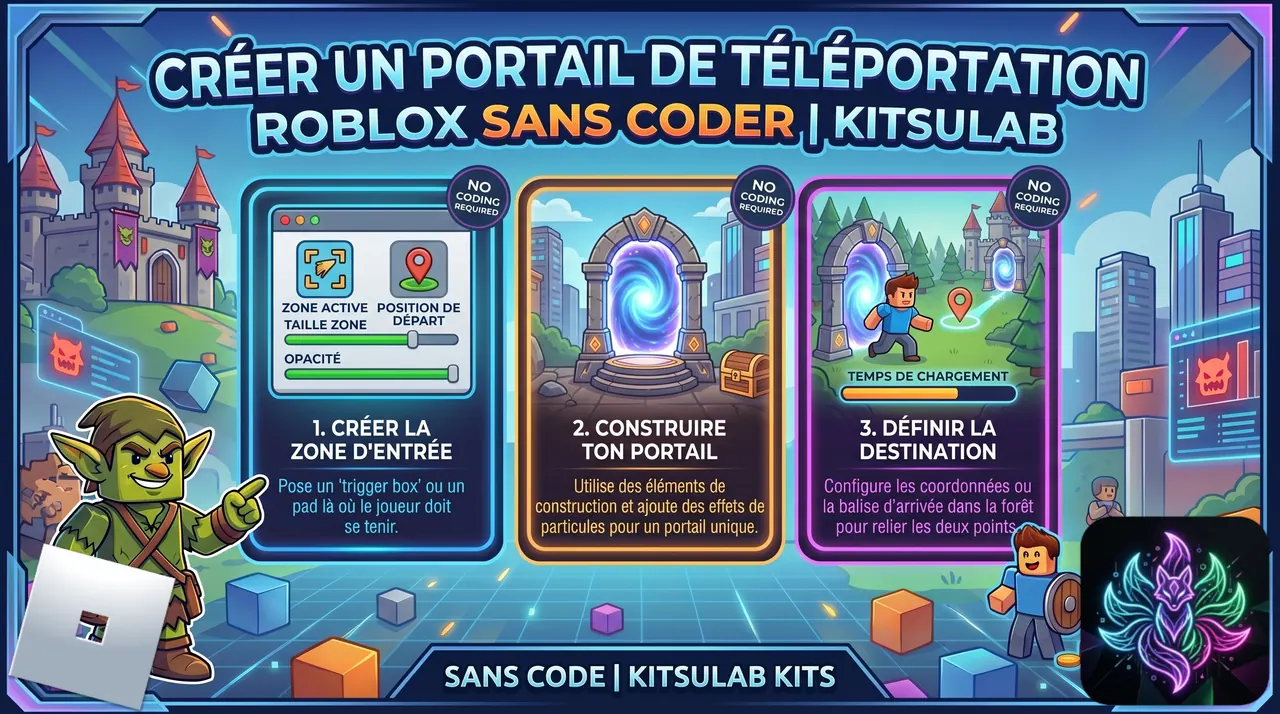
 Step-by-step Guide
Understand the 3 kinds of Places
The Places page shows 3 sections: Hidden Assets (folders auto-moved to ServerStorage to keep your scene clean), Private Plot (templates cloned per-player, ideal for bases or dungeons), and Public Plot (shared zones for all players, no cloning).
Declare your zones from the plugin
Places are declared from the Kitsulab plugin in Studio (not the CMS). Open the Places tab, drag your 'Plain' folder, choose Private Plot, label 'Plain'. Then drag 'Forest', choose Public Plot, label 'Forest'.
Create the Portal item in the CMS
In the CMS, create a new item 'Portal' with category 'None'. In the Behavior tab, chain: OnSpawn → Interact('Enter') → Teleport. Save.
The destination is set in the plugin (not CMS)
On the Teleport action, the 'destination' field is read-only with the placeholder 'Set via Studio Linker'. The destination depends on your scene — it's linked plugin-side. This is by design.
Link the model AND the destination in the plugin
In the Linker, drag the PortalArch model onto the Portal item. A 'Teleport to…' sub-entry appears automatically (the plugin detected your Teleport action). Click it and pick 'Forest'. Both badges turn green.
Test in Play mode
Press Play. Spawn in the Plain (private zone, your own copy). Walk to the portal, hold E to enter. Fade screen, respawn in the Forest (public zone, shared with everyone).

 Interaction
  Teleport